Can I sleep there??
So you are ready to plan an outdoor adventure but you don’t know where to start.
Let’s talk about how to choose where to camp!

First order of business, what kind of adventure is this?
Car camping
Front country
Walk up primitive
Backcountry
Multi day backpacking
Wilderness backpacking
Each one of these types of camping experiences will have different parameters for what is, or is not, allowed. In this blog I am not going to delve too deeply into the nuances of each type as that would get pretty lengthy.

Basic Starting Points
Identify your adventure: Asking yourself where you want to sleep at night will help narrow this down. Is it in the back of your car/van/truck? Do you want to walk a short distance from your car to a campground and sleep in a tent? Do you prefer to have to hike a short distance (a mile or so) to an established, but primitive (no electric or water) campsite? Maybe you are trying out backpacking and you want to do a short overnight trip where you hike several miles to a location and back out the next day. Or is it a multi day backpacking trip that requires coordinating several campsites. Or is it a big wilderness backpacking adventure with no designated campsites and you get to choose your own sites? However you answer that question, know that there are going to be different rules for where you are going.
Next up, Research: Look up the location that is your target. Take some time to research the area or park. You will likely find many answers here. If the park has a reservation system on the website you can often look at pictures of the individual campsite and the campground map to help guide your decisions. If you have your sights set on a popular National Park you should start planning early. Reservations may be in high demand. If you are planning to backpack you may need a permit. For high demand areas those permits can be very hard to obtain and may even have a lottery system in place to try and score one. Even if you are just heading out to do some day hiking you should research the area. Many popular National Parks are now using a “timed entry system” to help manage traffic flow. Maybe the area that you are going has “dispersed camping”. This type of camping can be a blessing and a curse. You have no designated campsite for dispersed camping. You are free to choose where you stop for the night. However, there are guidelines that you need to follow that are in place to help preserve the environment. Please take time to understand these rules.
Learn from my mistakes: RESEARCH CAREFULLY and THOROUGHLY. Once I coordinated a multi-day backpacking trip for multiple people at a high demand destination and after securing the permits came to the horrifying realization that I had failed to notice the tent per campsite limit that I had heavily exceeded in my plan. I had to do some serious scrambling to rearrange the whole itinerary. Better though than arriving several states away and finding that we couldn’t take our planned trip.
Understanding the differences: Learning the differences between location types will help you make sense of what requirements there may be. Is it a county park, state park, forest preserve, national park, National forest, or public land? Or even a private property.
Destination unknown: Planning to drive the country and sleep in your vehicle? Lots of people are. There are still some guidelines that you should follow. Understand where it is safe and allowed to park first and foremost. There are apps and websites now that can help you find places that are suitable to park. Sometimes you can even do a work exchange for parking at a location. Check out Harvest Hosts for more info on that.
Follow up: Take the time to continue your prep. Research what the local weather will be and what kind of gear is necessary to support you in the environment. Research the trail, water sources, food storage requirements, bail out points. Pay mind to local events, is there anything happening that might impede travel or your stay? Keep tabs on things at the park by checking their website occasionally leading up to your trip. They will have notices about things like road closures, trail detours, wildfires, or wildlife concerns. I once had to call and talk to the rangers at Yellowstone and get assistance in reorganizing campsites on my permit after some of the sites were closed temporarily due to grizzly bear activity. Park Rangers are an excellent resource!
My goal here at the Aggressively Average Hiker is to demystify outdoor adventure while helping folks gain the knowledge that they need to be as safe as they can while heading out on the trips they crave. I hope that these tips help.

Have more questions? Hit me up on social media or send me and email. Links are at the top of this page. I am always glad to chat and try to help!
Want even more information?
I offer Backpacking Basics classes as well as Individual Coaching that can be customized to help you meet your goal!
Pictured Rocks National Shoreline
A recap of a recent backpacking trip along the Pictured Rocks National Shoreline
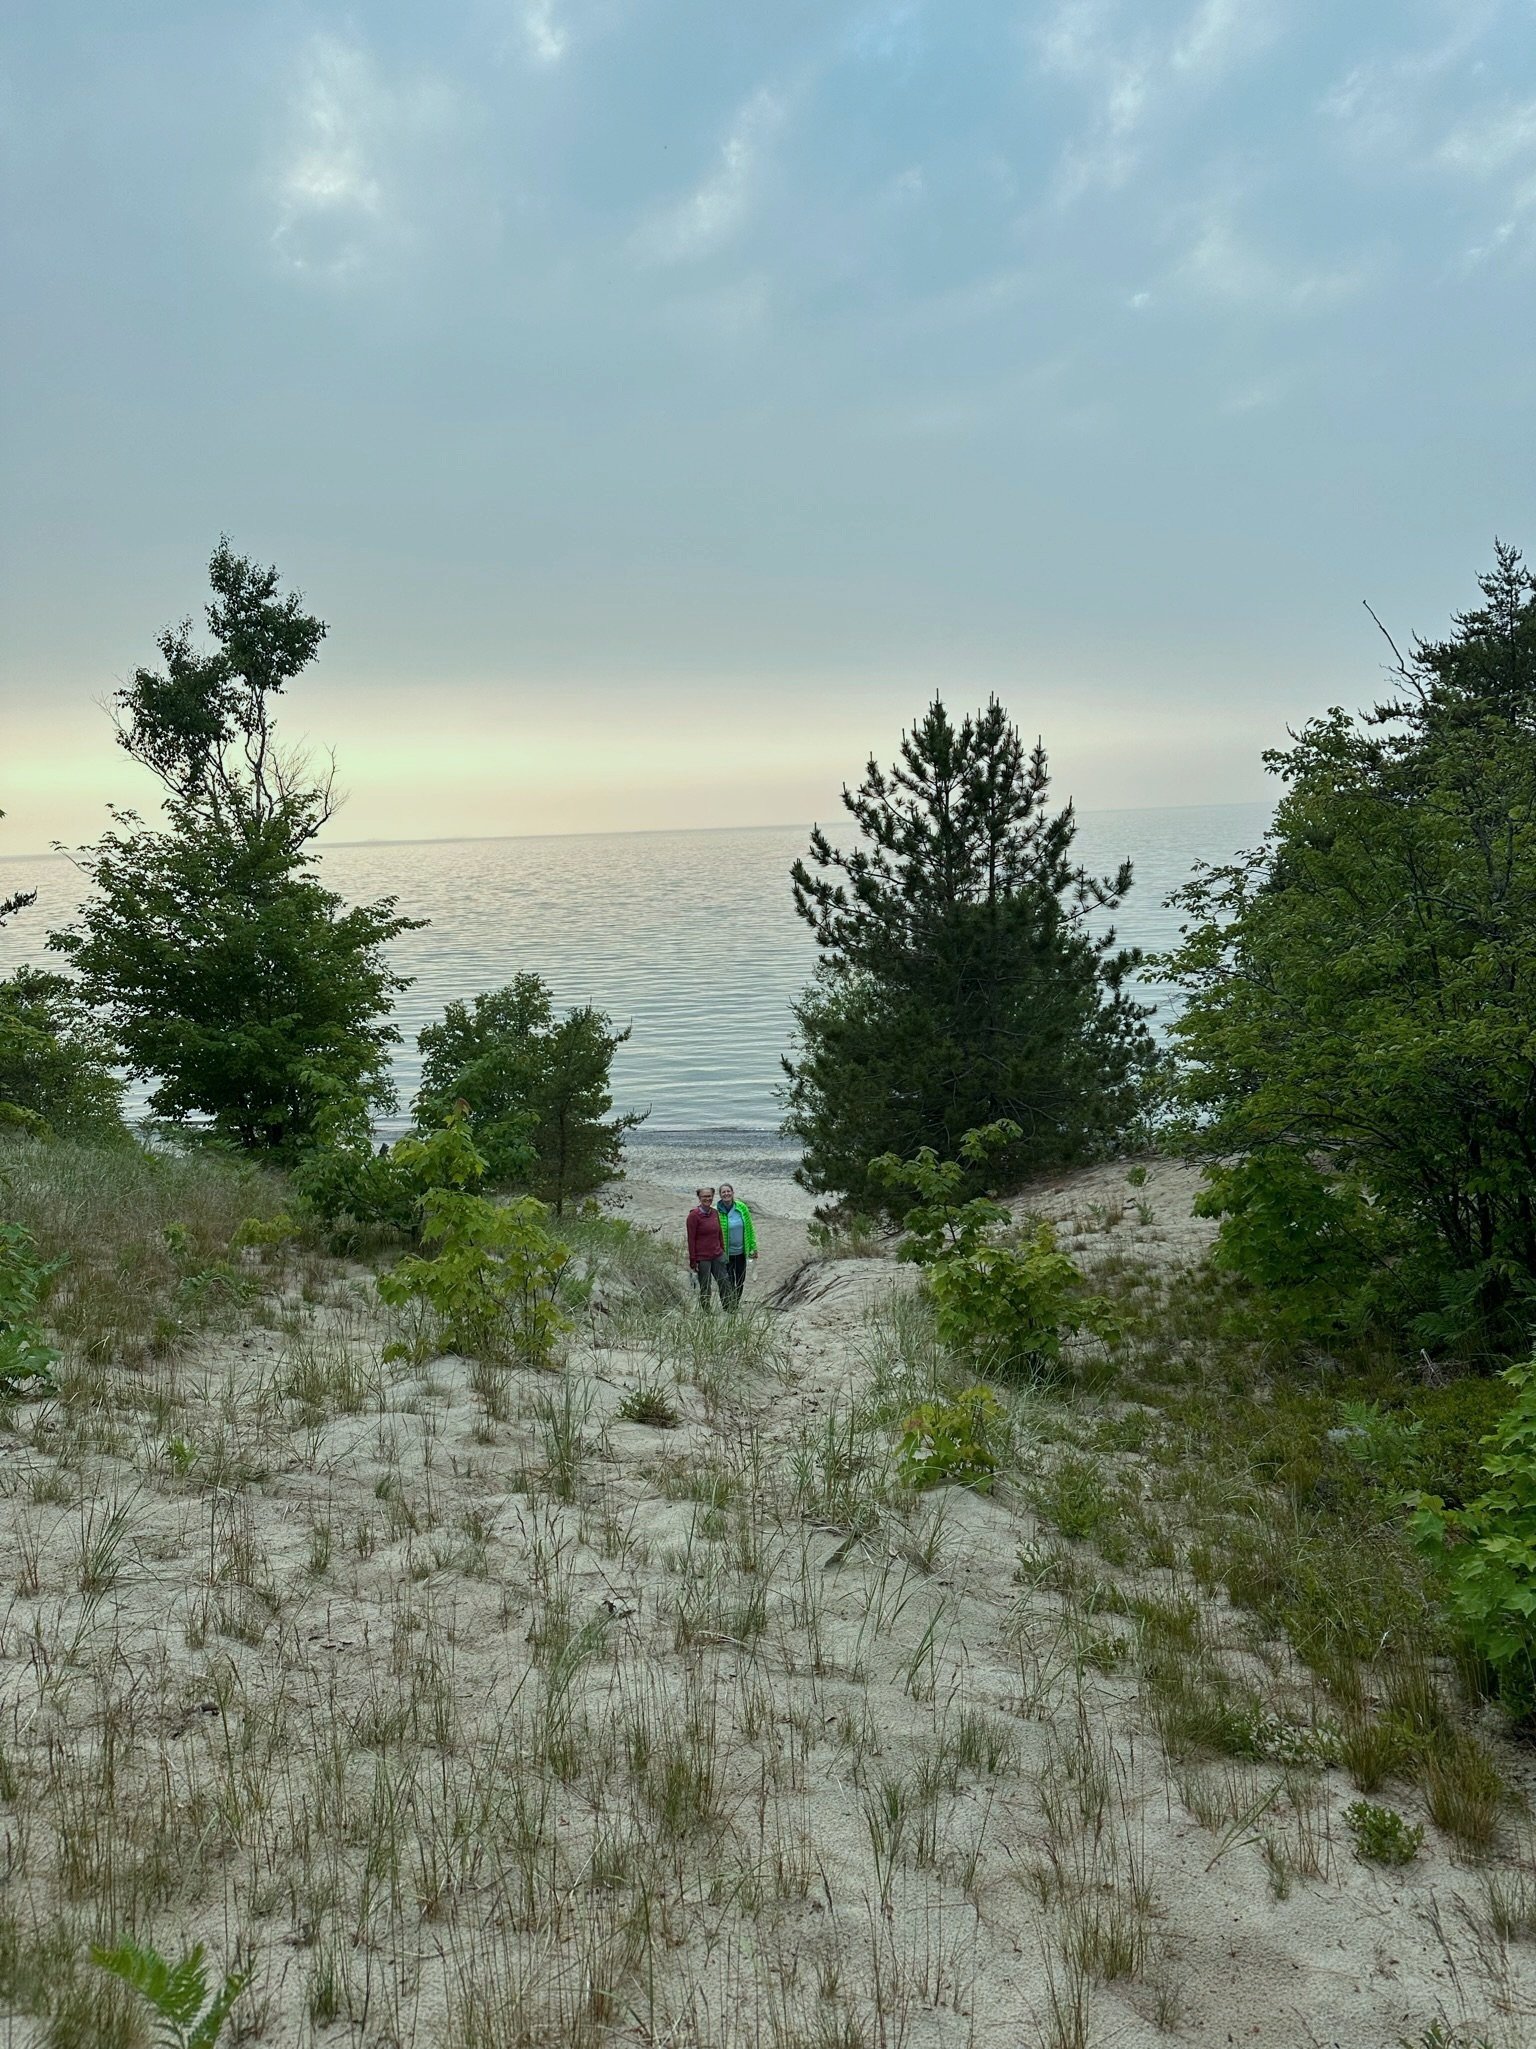
I recently returned home from a backpacking trip to Michigan. I had the absolute pleasure of being able to spend time in the Upper Peninsula area. I have never had the chance to go that far north into Michigan. I can see why it is such treasured area. Mother Superior really shows off. I am fascinated with the enormity of this lake. What a stunner!

Lake Superior with Grand Island in the background
For this trip I had planned a 4 day/3 night trip along the North Country Trail to hike the Pictured Rocks National Shoreline. The North Country Trail is a much longer thru hiking trail that goes from Vermont to North Dakota with a mileage total of 4,800 miles! The Pictured Rocks portion is just 42.4 miles.

North Country Trail
Est. 1980, sharing route with the existing Finger Lakes, Baker, and Buckeye trails it is 4,800 miles long!
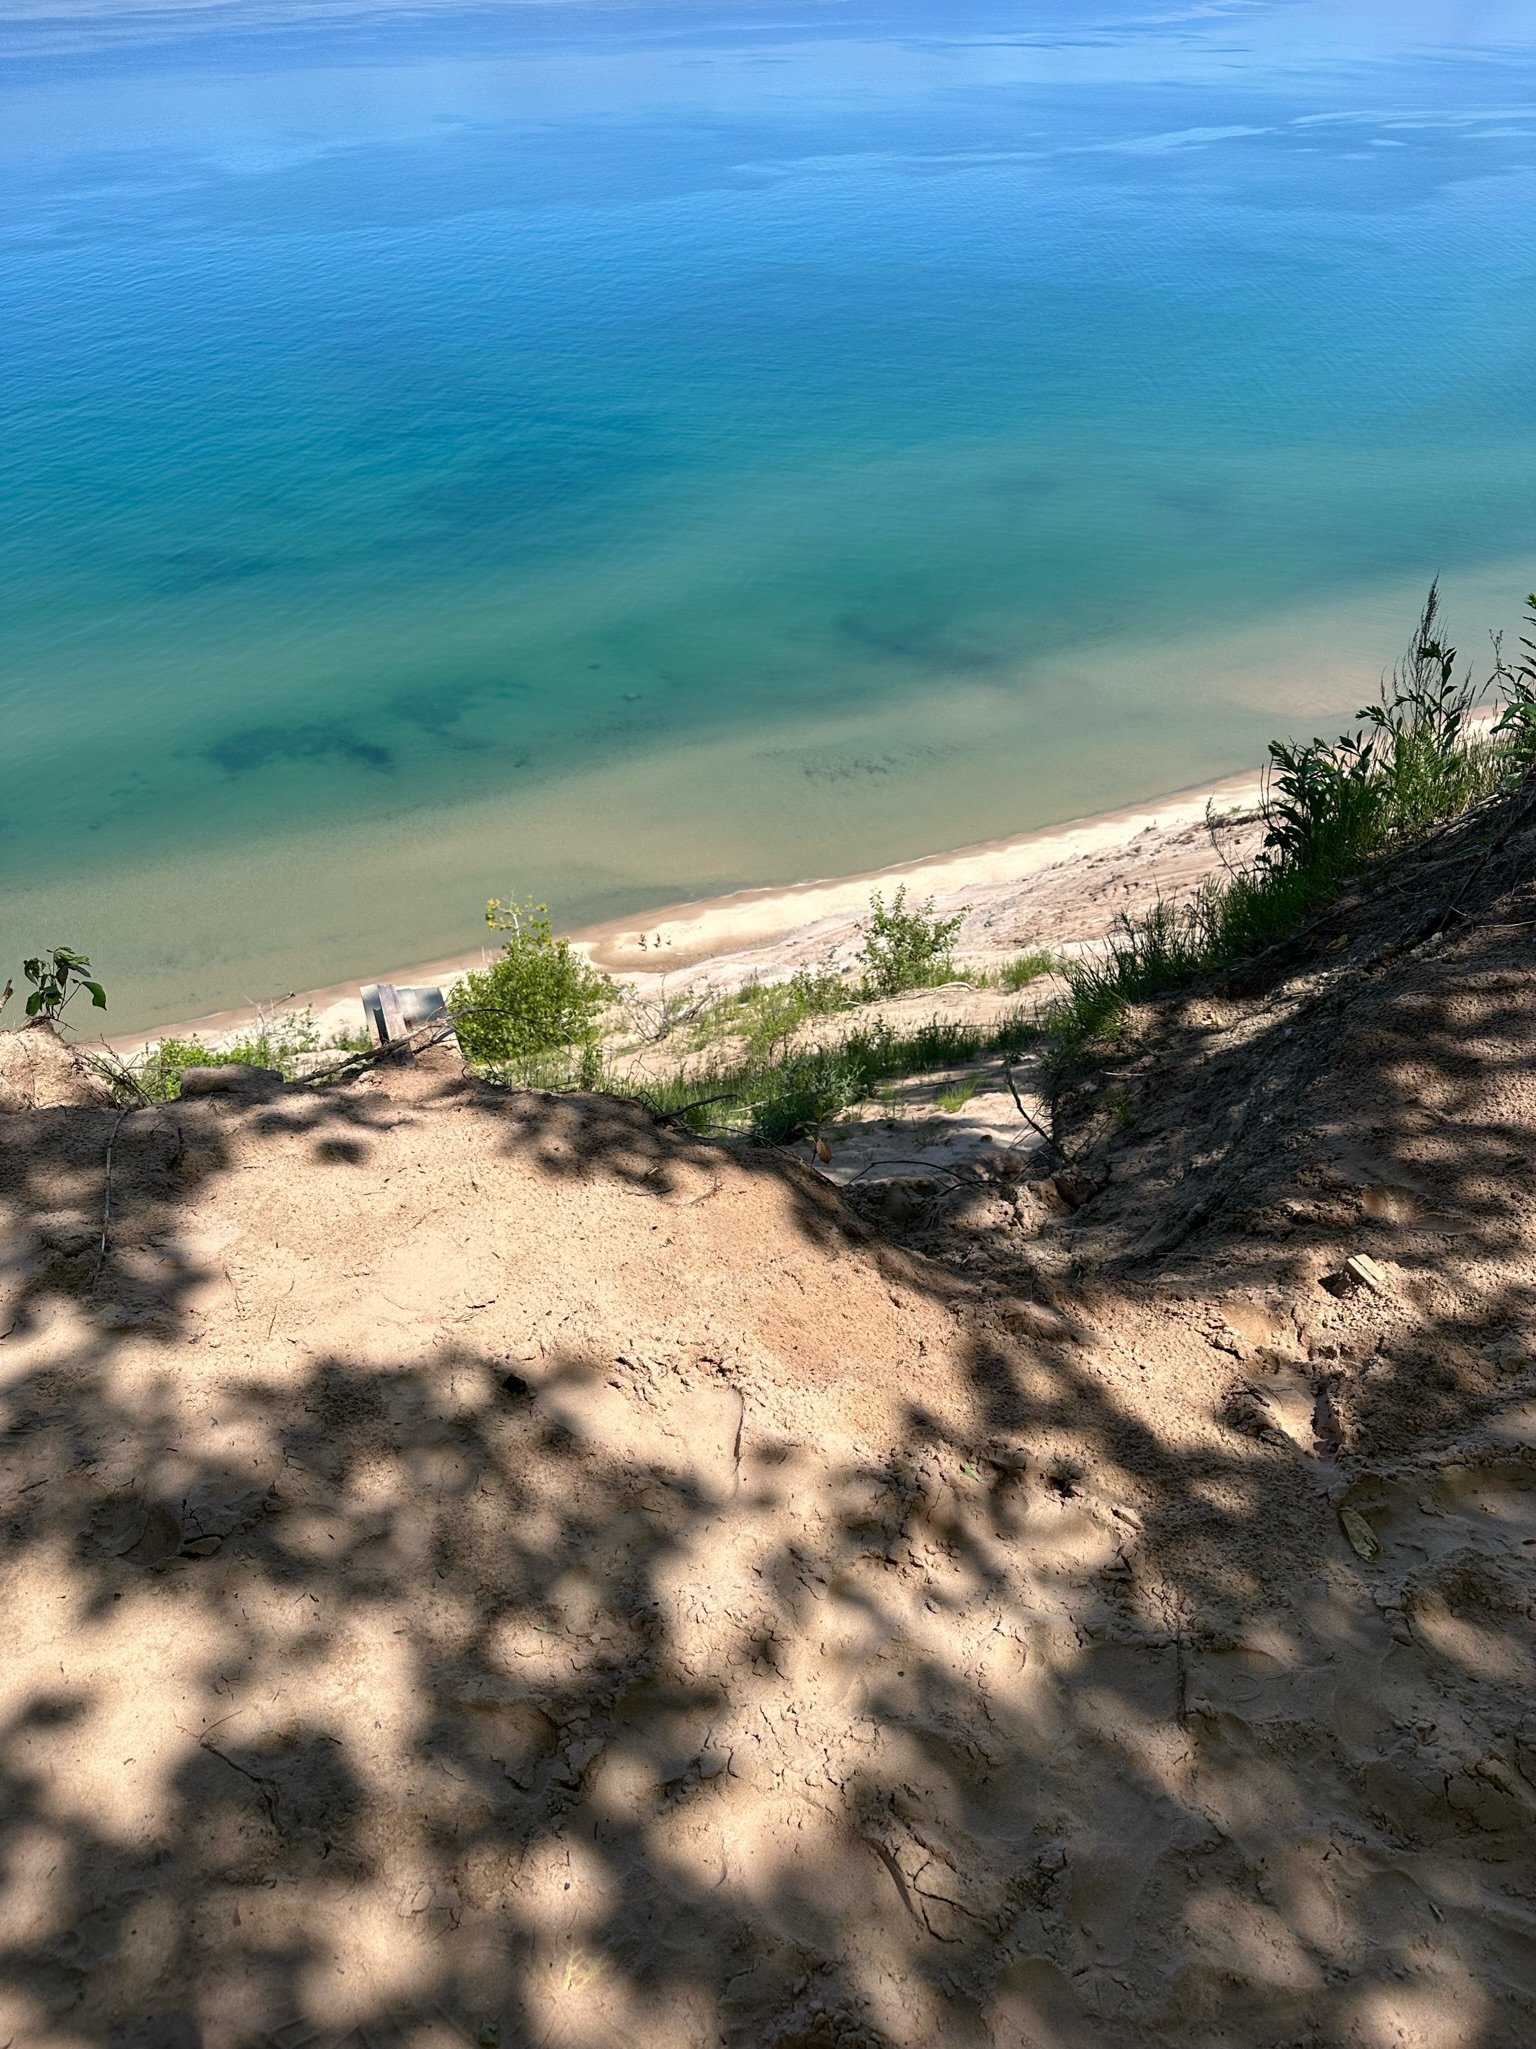
Joining me was a mix of seasoned backpackers and newer adventurers. This trip seemed like it would be a good fit for the group as it gives big visual rewards for relatively low effort. The terrain is pretty gentle overall with a total elevation gain of 2060 feet. I say “relatively low effort” because overall the trail is pretty flat, but there are some areas sprinkled in that require short uphill climbs. There are also big sandy dunes that beg to be slid down to bring you to the shore of the lake…but what goes down, has to climb back up! These are side quests though.
We started our journey by driving to what would be the end of the trail for us to park our cars. There is a shuttle that can be reserved that will pick you up and take you to the other end of the trail where you will be starting. This is an end-to-end trail that allows you to trek between Munising to Grand Marais. Both are cute little lake towns with lots of local businesses to get tasty meals from and do a little shopping. Our journey took us from Munising back to Grand Marais. Typically people do the trail the opposite direction as we did, but I was a little slow to get permits for this trip and the campsites are in high demand so I had to get a little creative to make things work.

Fresh packs ready to go!
Waiting for the shuttle at Grand Sable Visitor Center
After the shuttle dropped us off we started at Munising Falls Visitor Center and headed out with Potato Patch campground as our destination for the day. The trail started out by giving us some nice little waterfalls in the forest and eventual sneak peeks of the lake. We walked through the Miner’s Beach area before getting to camp for the night and this was when we really started getting a taste of what we would be seeing. Miner’s Beach has a parking access so it was full of visitors but that came with perks. Nice front country bathrooms, trash cans, and potable water that we didn’t have to filter. We took full advantage of that and headed out to finish up our day. Potato Patch campground turned out to be sitting on top of a tall cliff. We had a steep climb up with a ridiculous amount of mosquitos that swarmed us the whole way. I decided that I would rather arrive at the top hypoxic than stop to breathe and deal with the bug assault. As we walked into the campsite we saw a couple of enormous snowshoe hares hopping about. After just shy of 9 miles on a late start day we were all pretty tired. A few of the group watched the sunset, but I decided to turn in for the night and got some pretty great sleep.

**Of note, all of the campgrounds have bear boxes for food storage and privies. This area is home to black bears so it is important to secure your food properly. More prevalent though were the ground squirrels who would also be glad to put a hole in your pack or food bag to get a snack. The privies are definitely “minimal” so don’t get too excited. Most seemed to be off away from the campground and just a simple box latrine with no outer walls. This makes for plenty of ventilation and forest views!
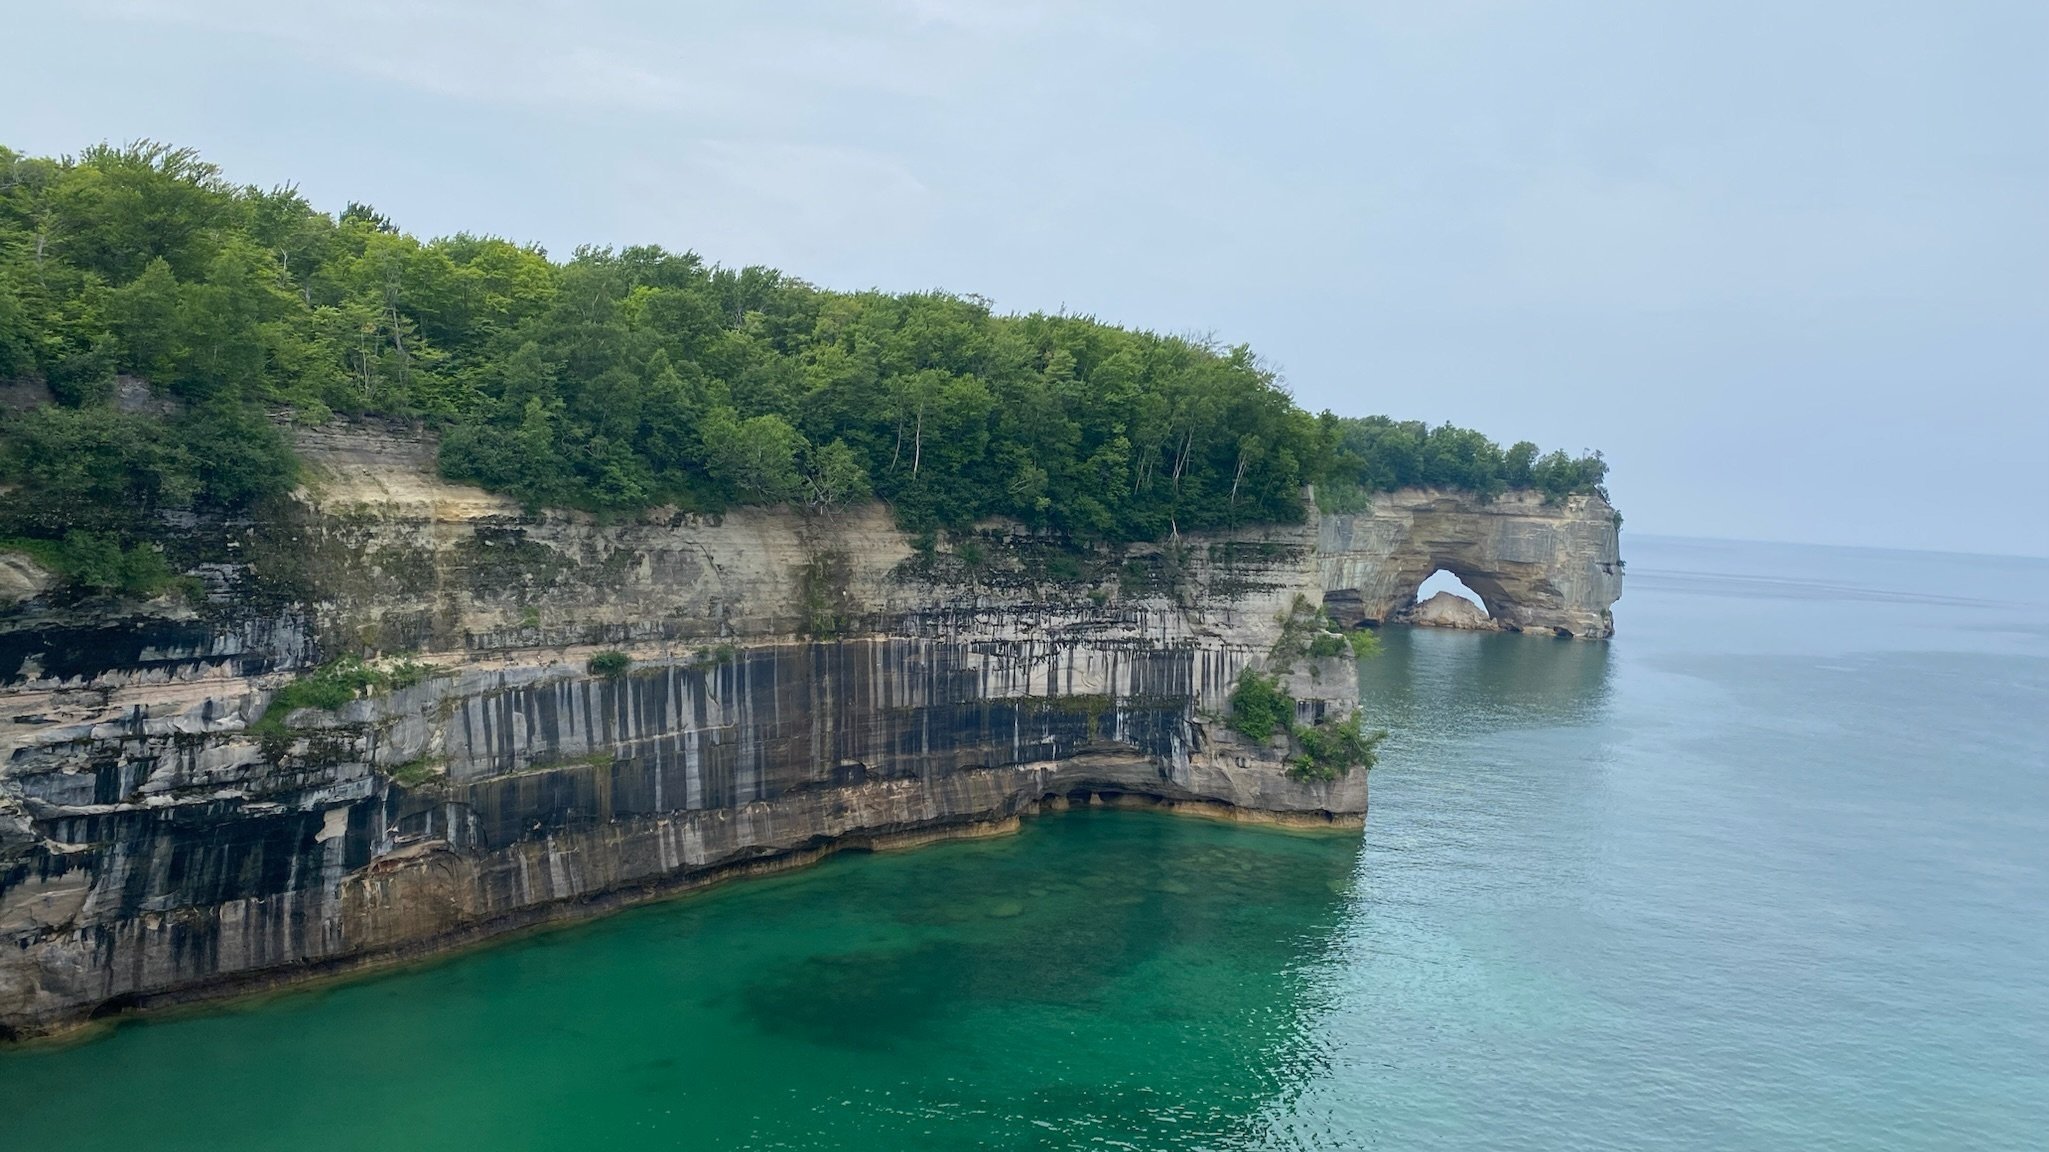
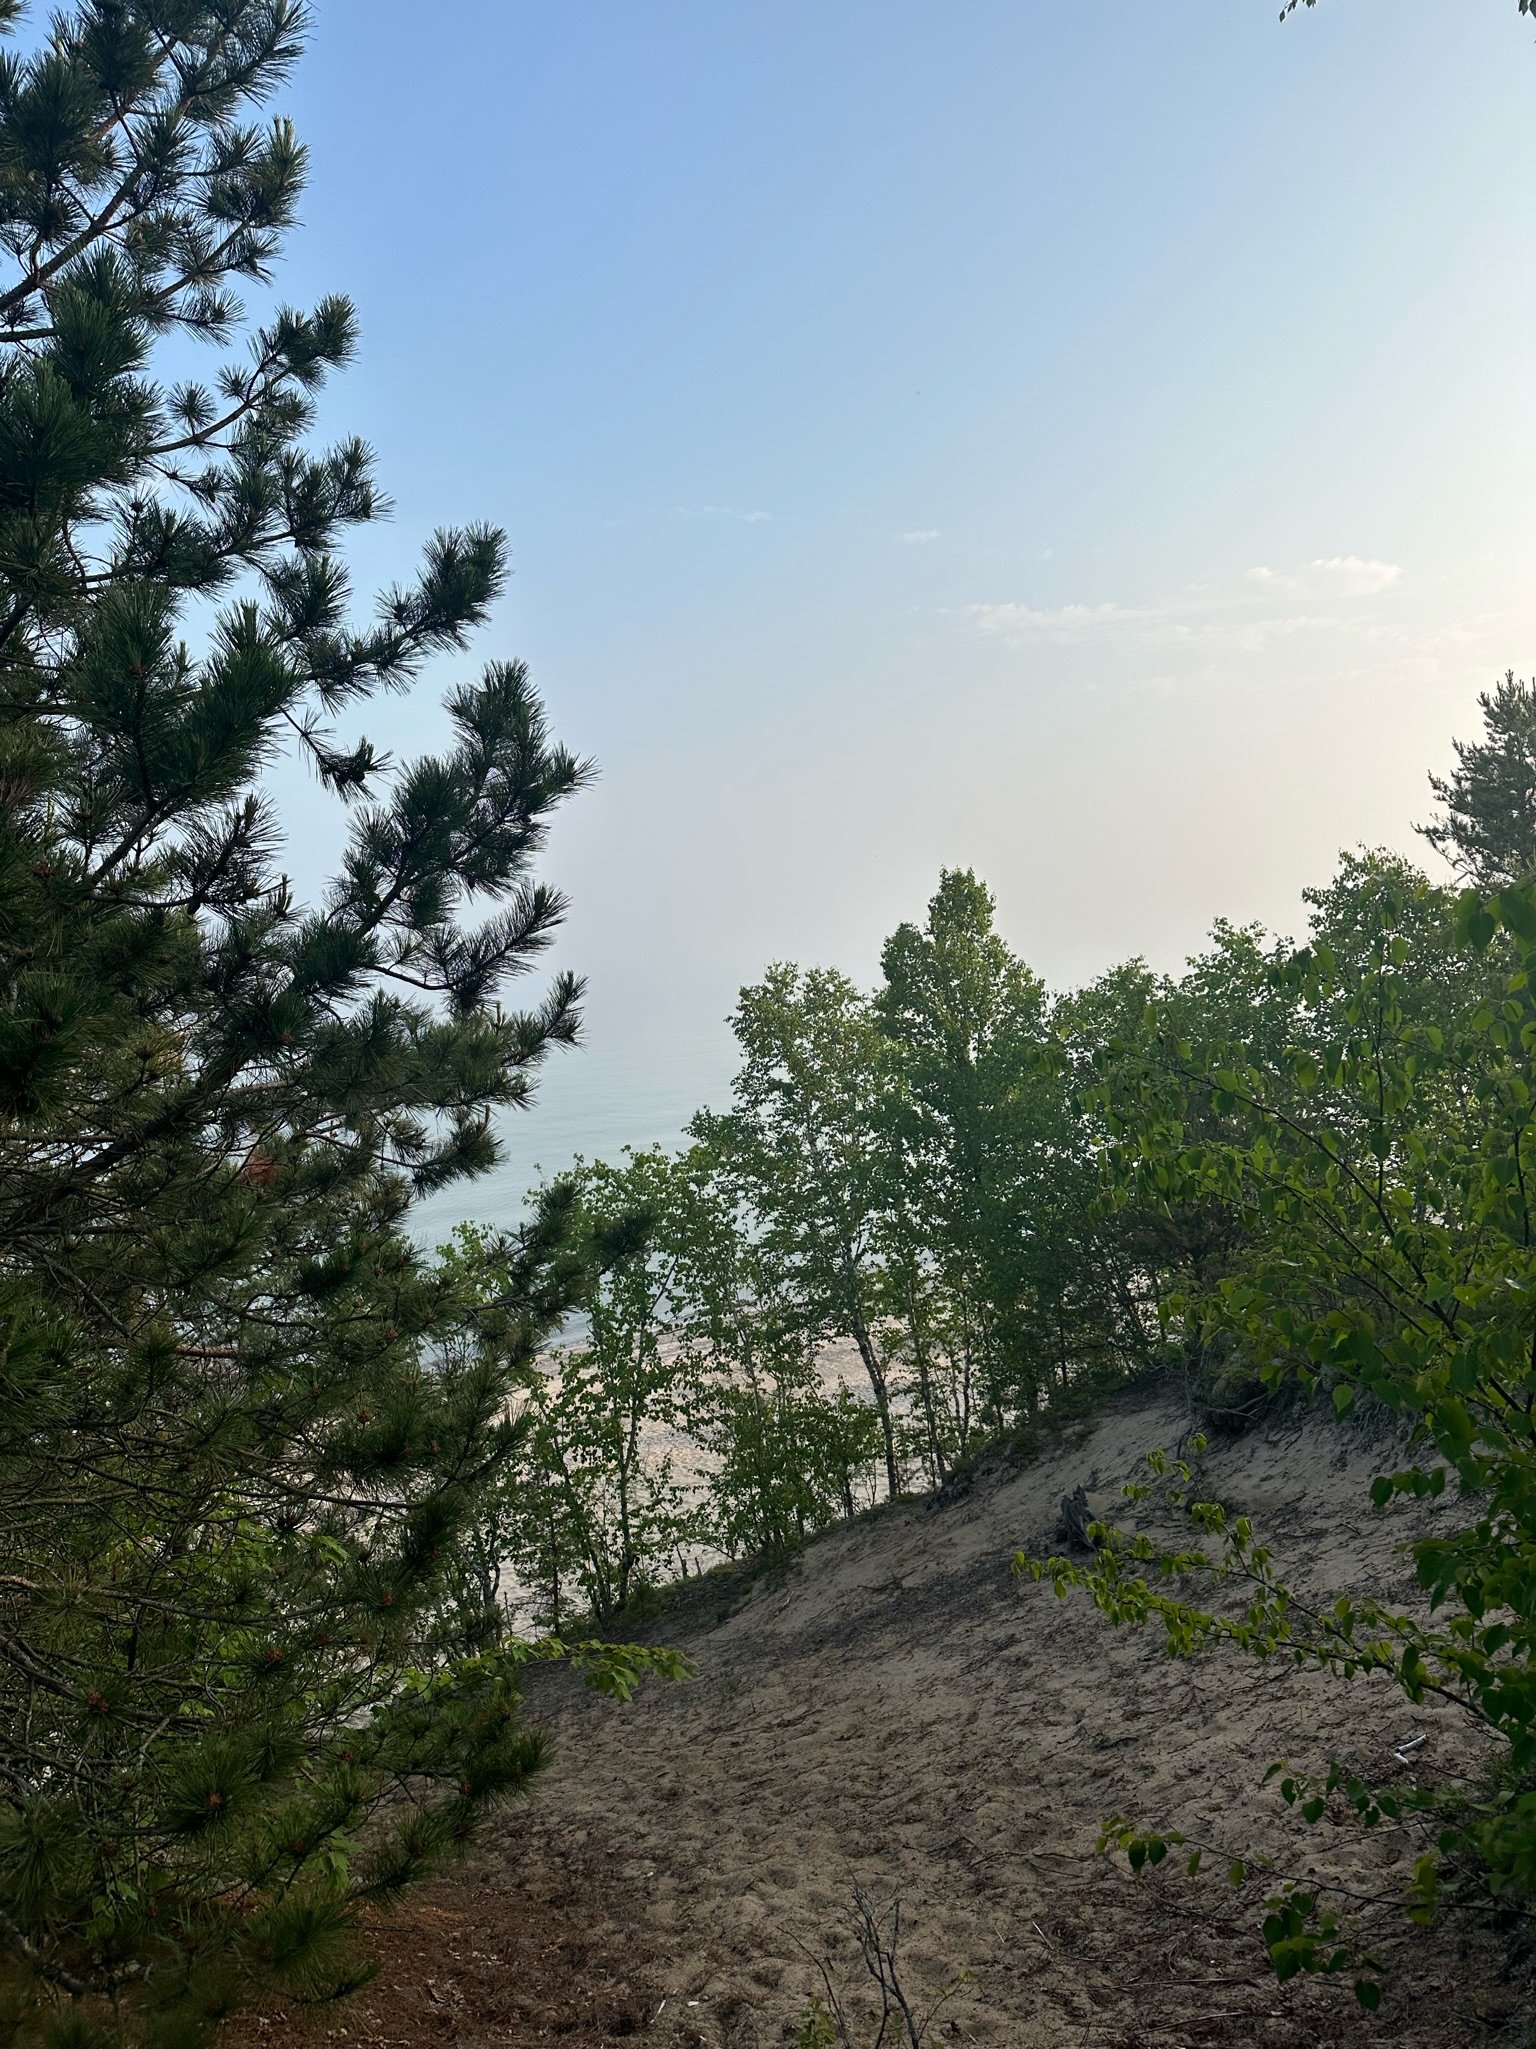
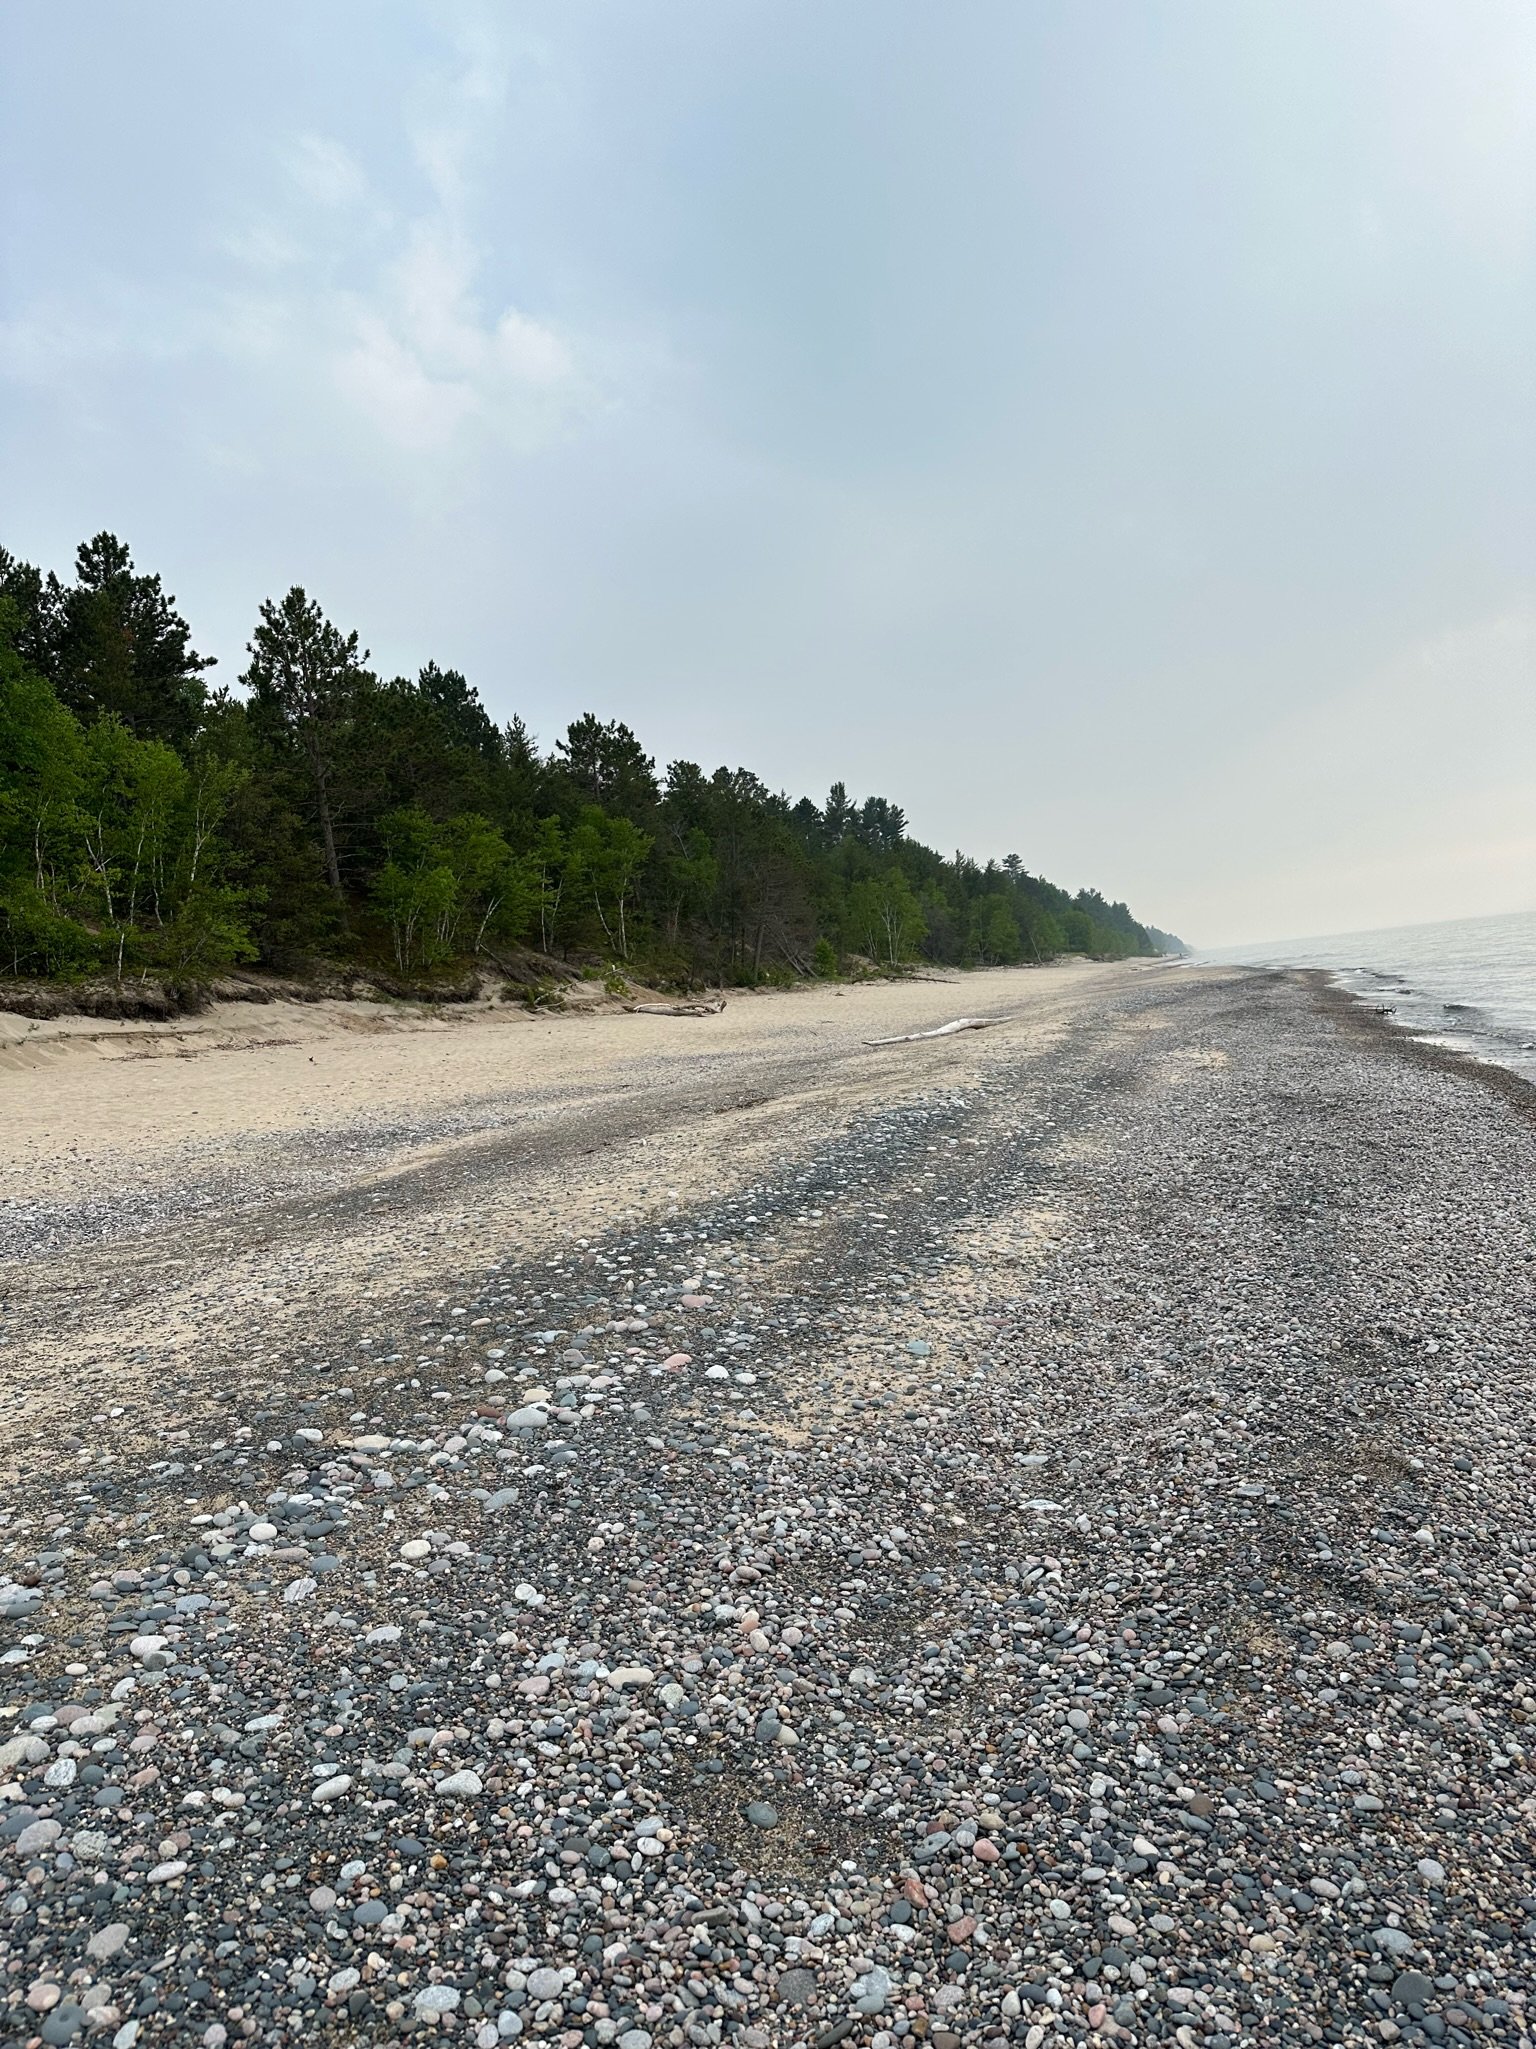
The next day was a pretty long one. Our next campground was 14.6 miles ahead. We woke up early so that we could take lots of breaks along the way. This turned out to be a good plan despite our concerns about the mileage because the views were absolutely astounding on this day. We stopped to say “WOW” countless times. The trail in this section really shows off the amazing cliffs and shoreline. I really felt lucky that we had a such a big chunk of miles to do on this day because it turned out to be the clearest weather we had. We had been dodging rain and also smoke from the enormous Canadian wildfires. We ended our day at Pine Bluff campground. The campground was easy to walk into (no steep climb like the previous day), but the water access for the camp is the lake. This meant a trek down a decent sized dune at the end of an exhausting day. At first I was pretty sad about it, but this turned out to be the first time I got to spend time on the rock covered shoreline. I’m glad I got that opportunity. We spent the next hour or so picking around in the rocks and saying “look at this one!” over and over. The climb back up in the deep sand was a bit arduous, but doable.

A Pictured Rocks classic- Miner’s Castle
The next day we woke to rain that had been gently falling all night. Packing up in the rain is always a task I dread. It’s never as bad as I tell myself it is once I am packed and moving though. The hardest part is just dragging myself out of a cozy tent to get started. This day was a bit of a “rest day” for the group after our long mileage the day before. We only had 7.7 miles to our next site.
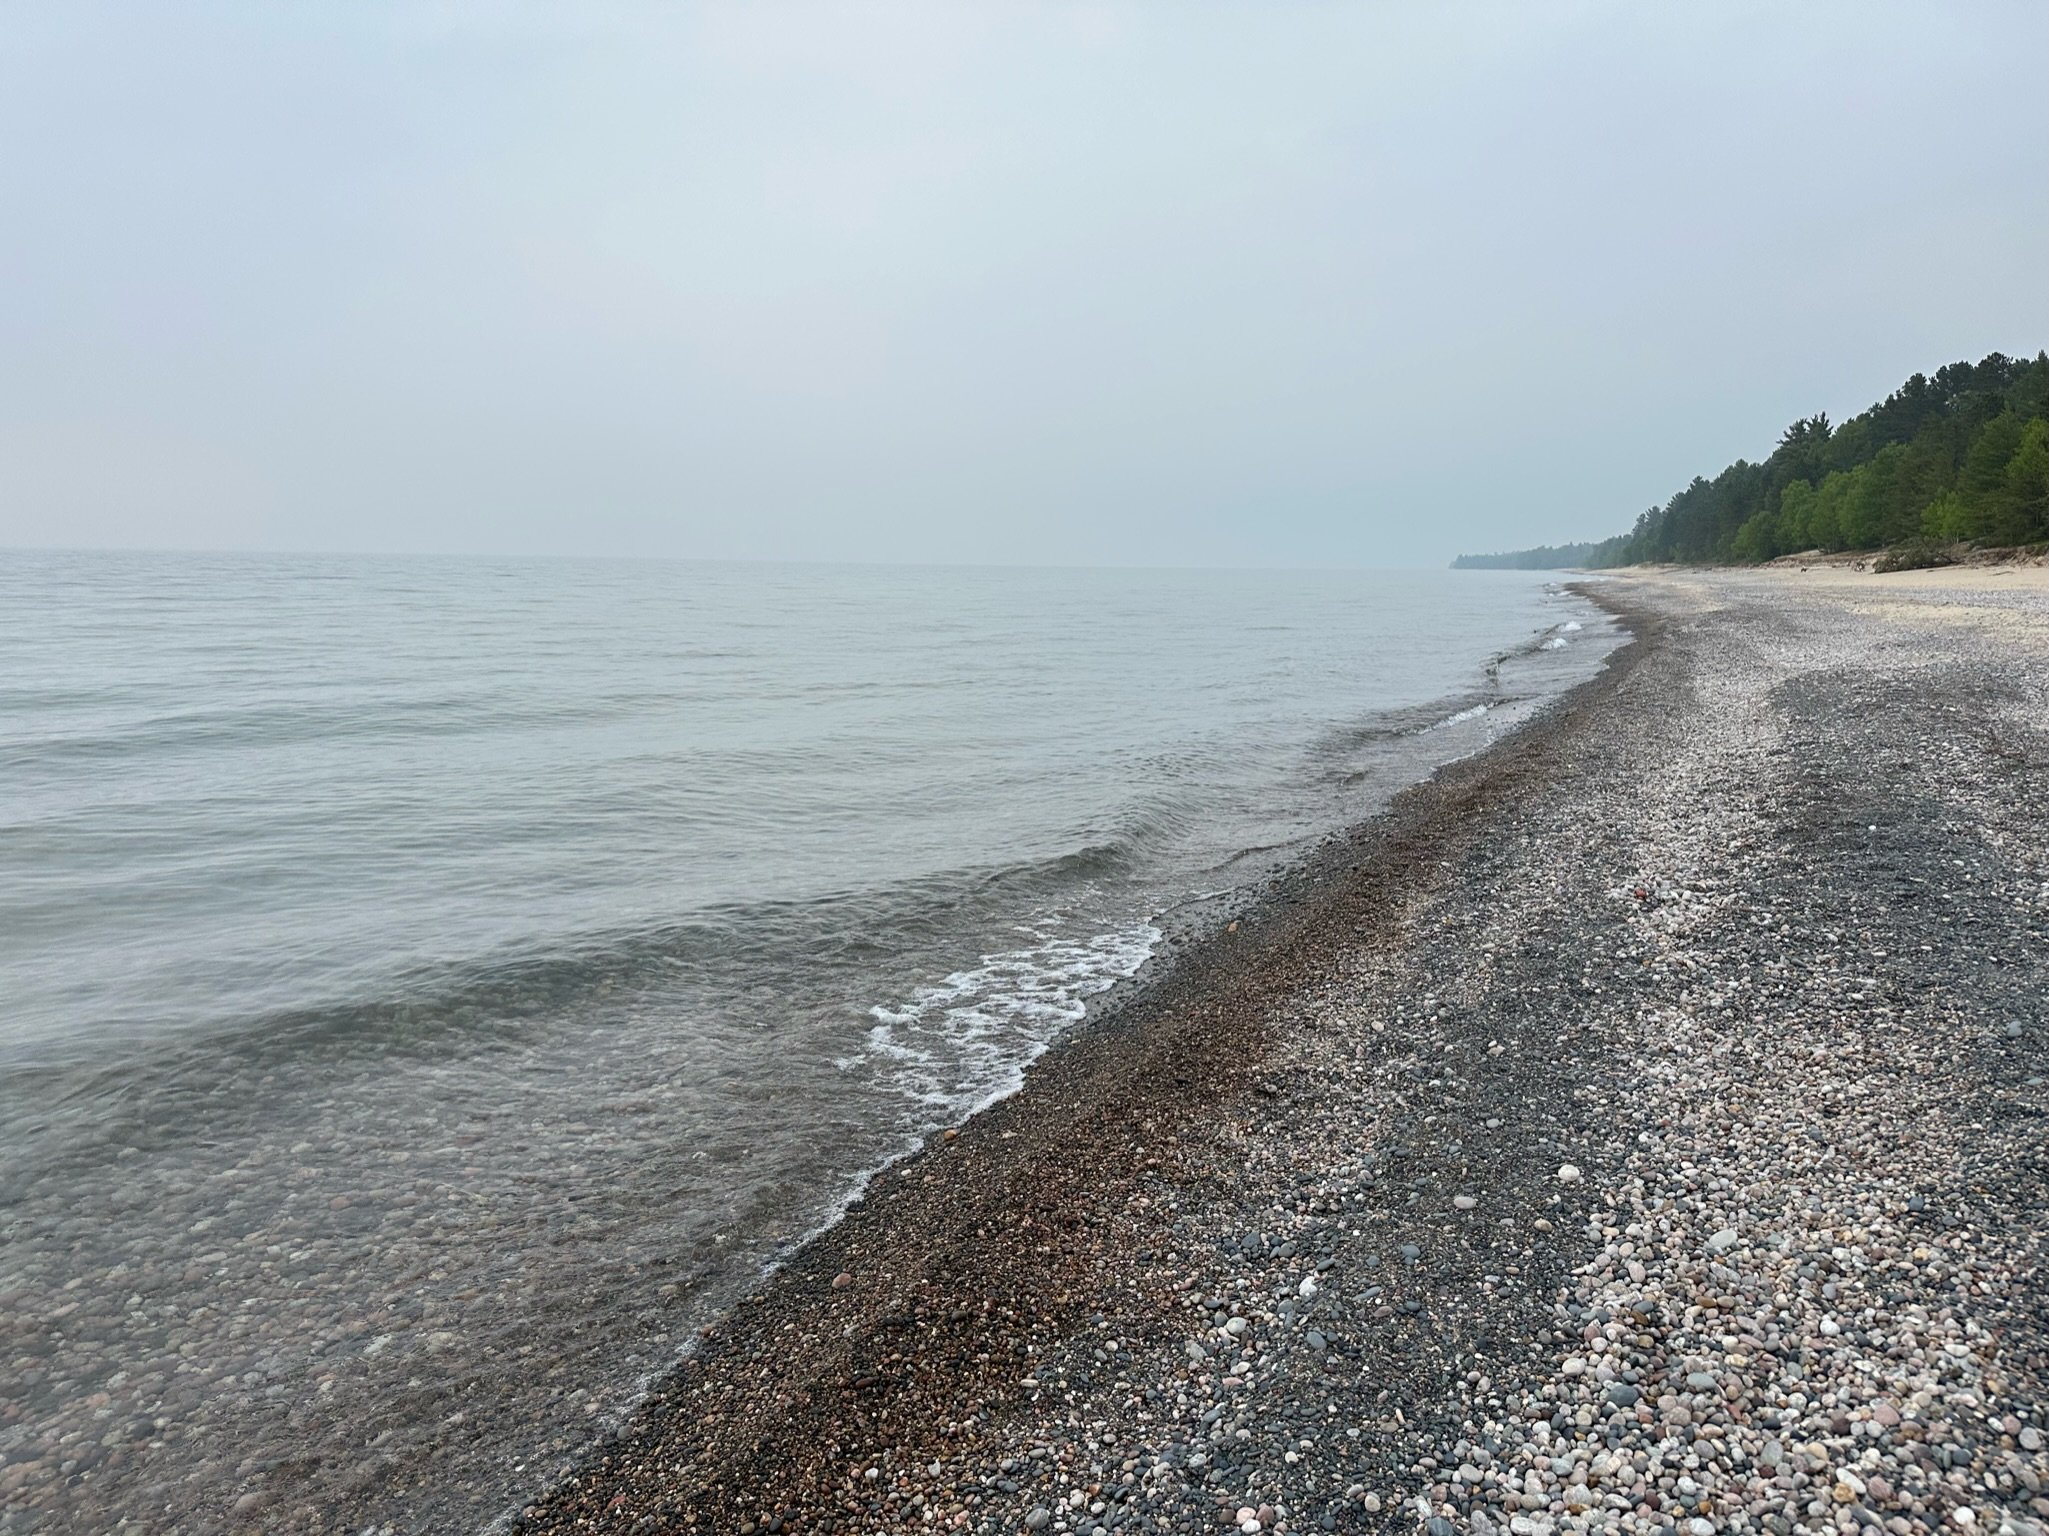
The trail from Pine Bluff to Benchmark campground was very straight and flat. It took us into the woods just far enough that we didn’t get as many views of the lake for a pretty long stretch. We took our time and when we walked through the Sevenmile campsite we had a long lunch break and took advantage of the sun that had come out. We spread out gear to dry and relaxed. There was a really great stream with easy access at the camp so we all took advantage of that as well and had a little trail bath. When we arrived at our camp for the night we found that there were large dunes behind it that allowed us access to the shoreline again. We all went sliding down the deep sand hill and had a really nice evening hunting around in the rocks and dipping in the water.
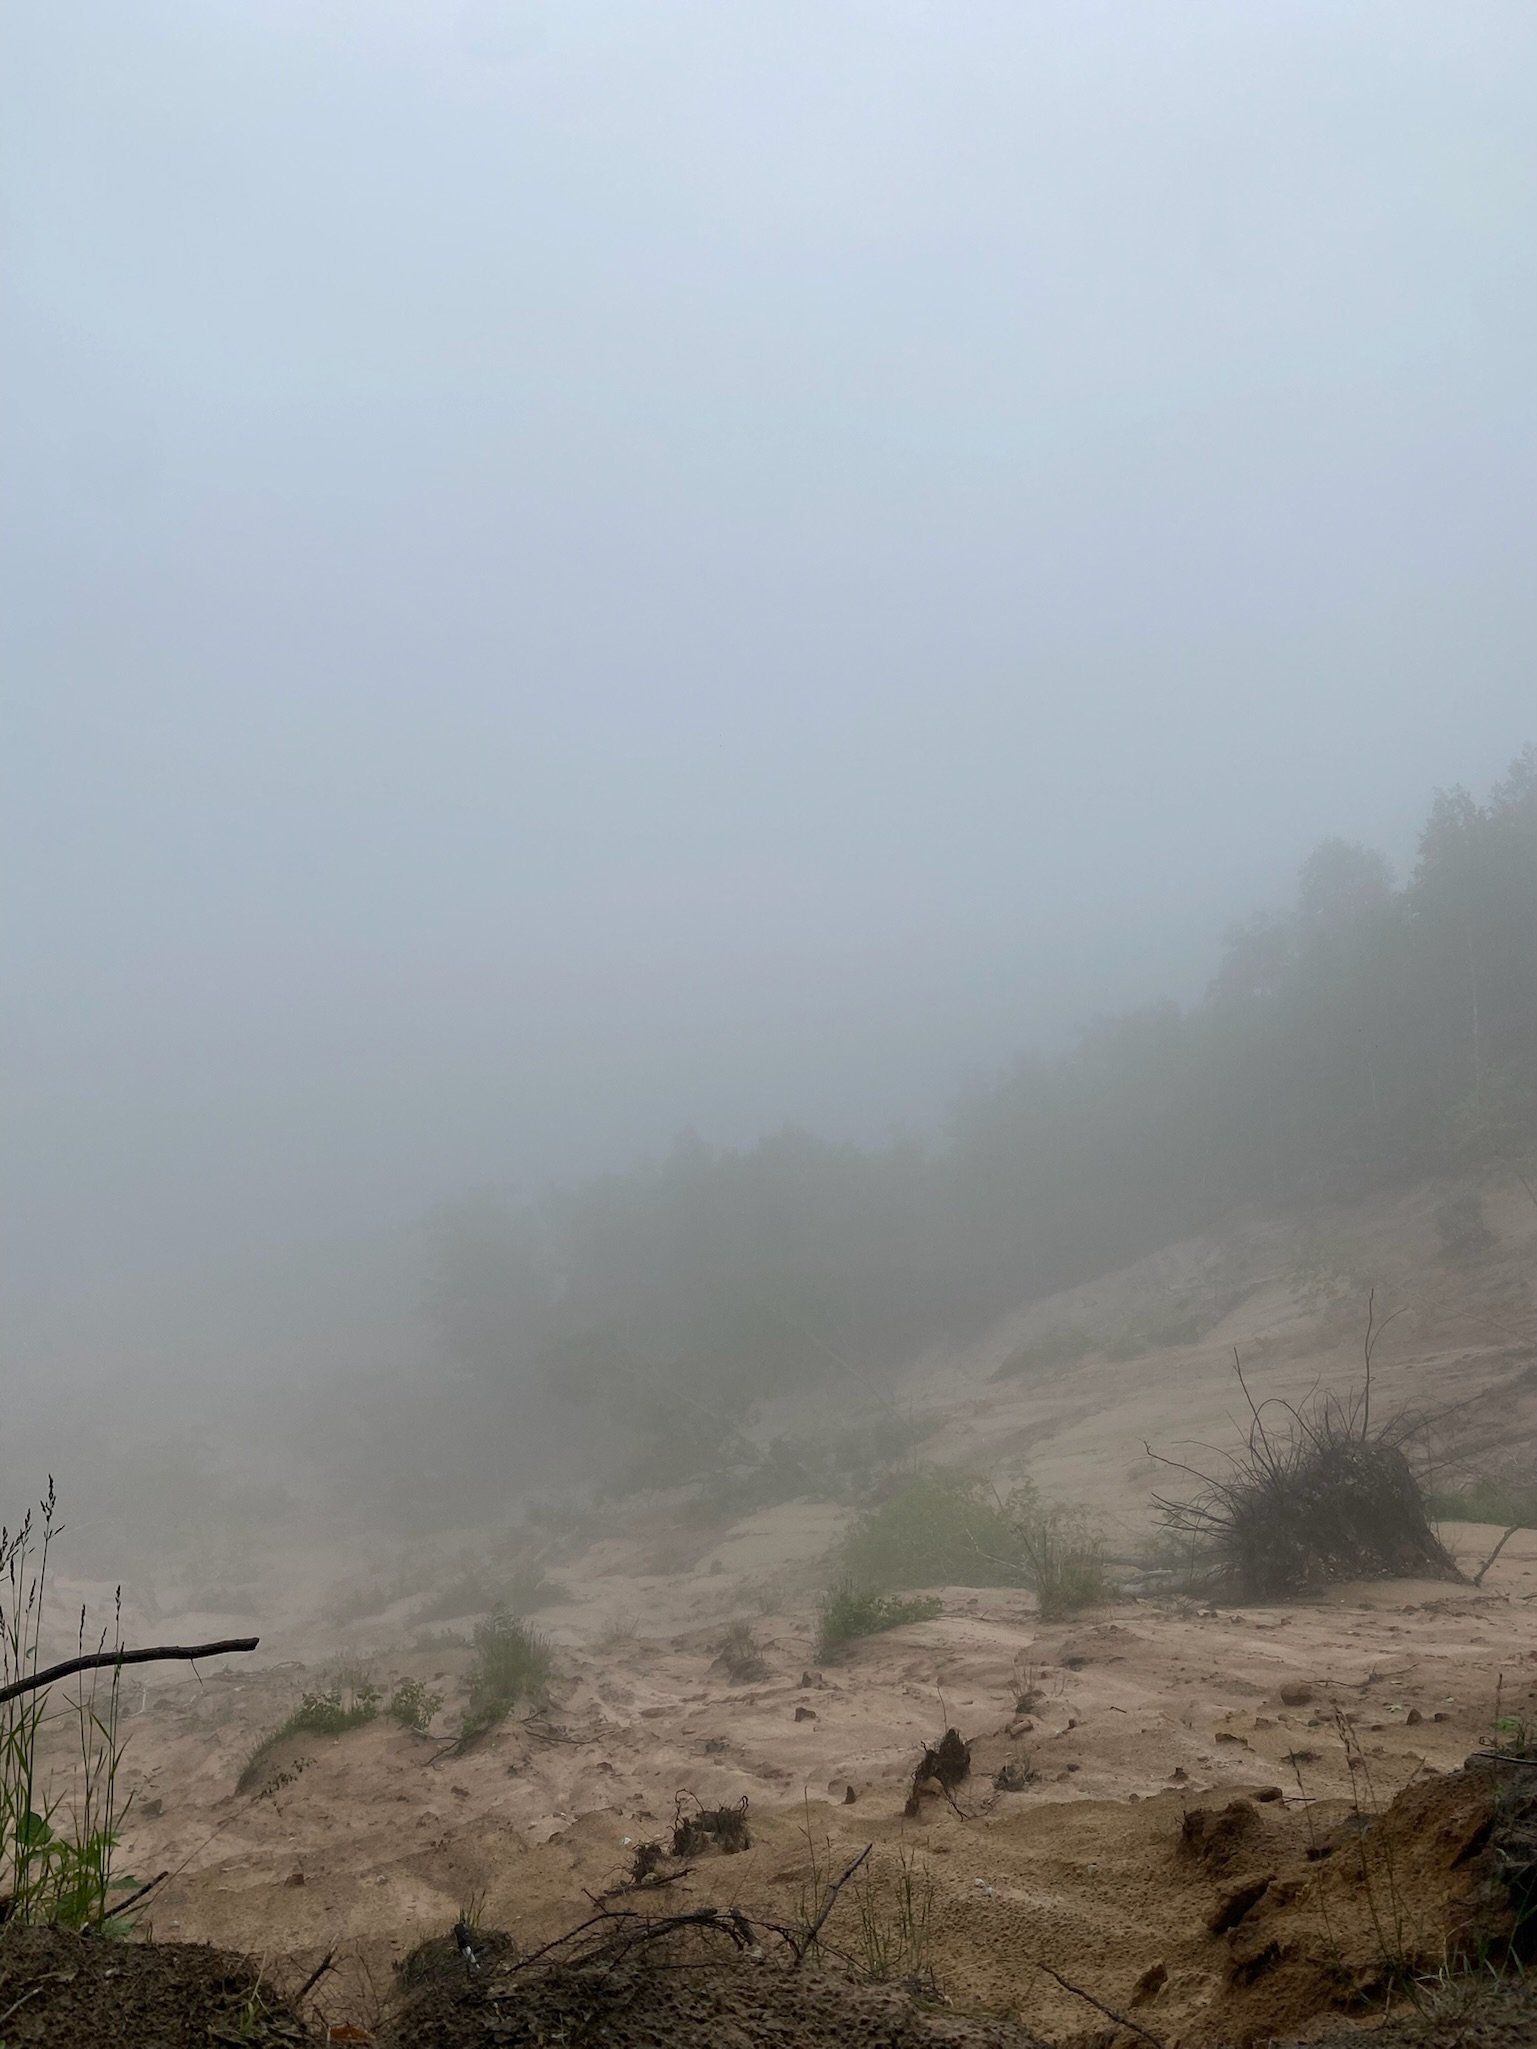
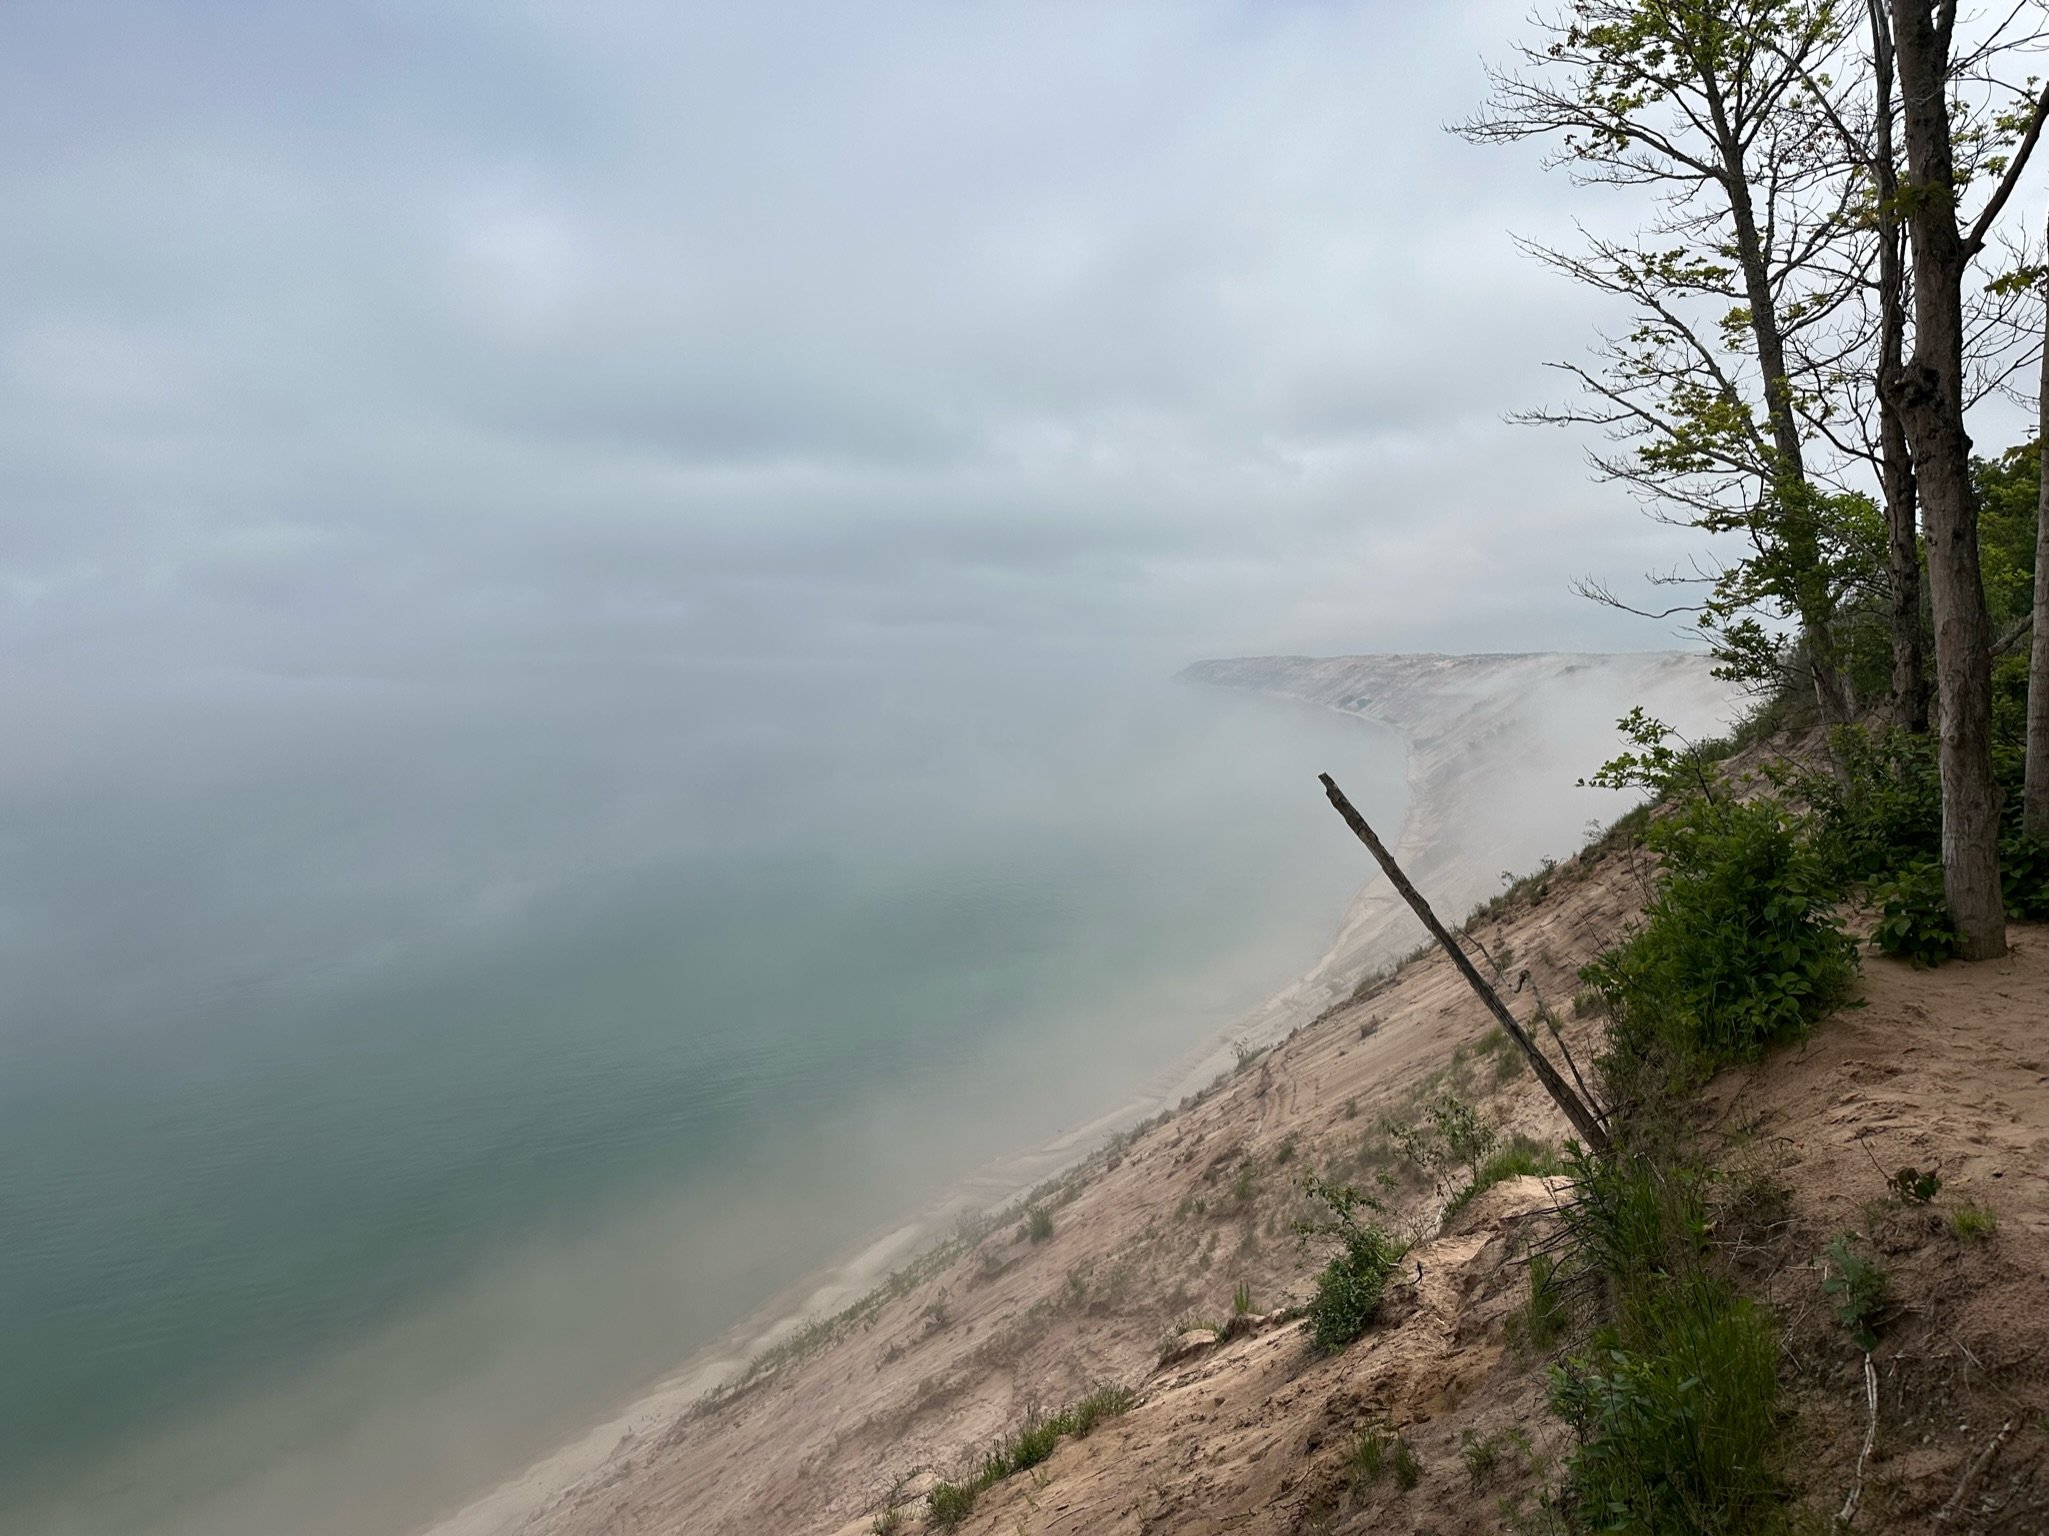
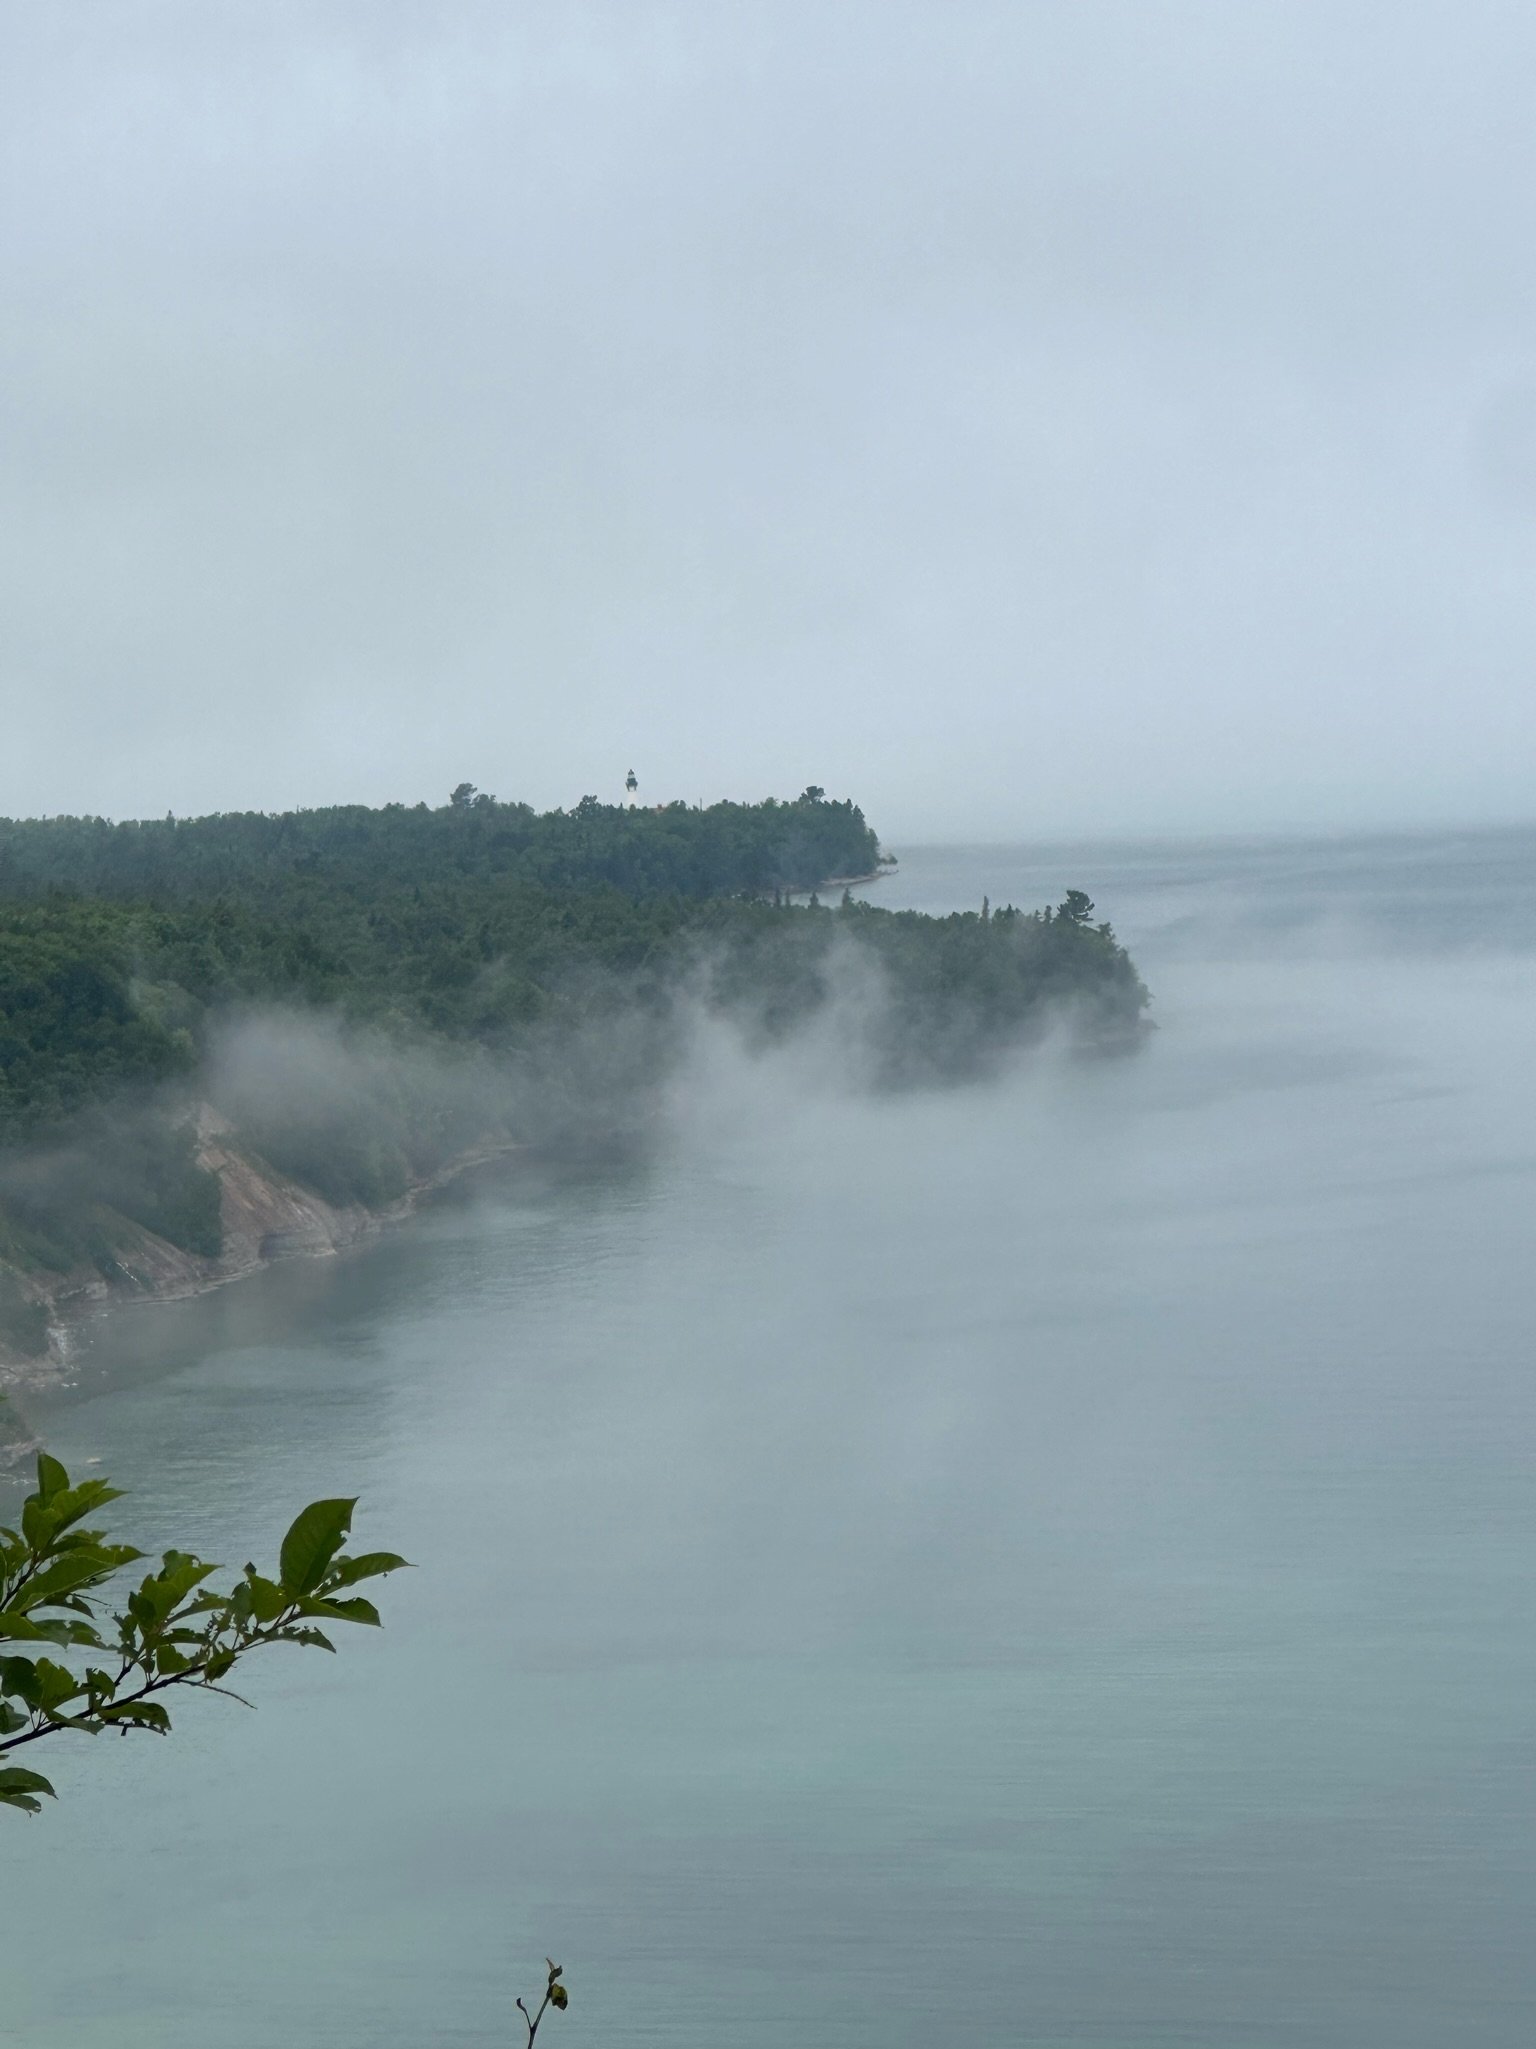
Our last day was a doozy. We woke up to thick smoke from the wildfires. It was so dense that one person from our group thought that last nights campfire was still burning. We headed out for an 11 mile day in smoke that looked like fog on a morning that would bring a “fog advisory warning”. It was bizzare to know that the lake was "right there” but we could barely see it. We arrived at the Log Slide lookout and had a leisurely lunch on a cliff and watched as the skies cleared off. I think that at this point in the day it may have been a mix of smoke and fog. Nonetheless, it was thick. This area is home to an enormous dune that carries a warning sign that says “it takes moments to get down and can take hours to climb back up” with Search and Rescue frequently called. We chose to skip the shoreline here.
The rest of the trail took a dive south and away from the shore. We walked past Grand Sable Lake and shortly after arrived at the parking area that we left our cars at. We had booked rooms in the very nearby Grand Marais. It was just a short 5 min drive to get there.
We showered and feasted at a local brewery and then slept like logs in the cushy beds before heading home in the morning. If you have some time be sure to go and get a coffee at the Dream Bean Machine!

Grand Marasis
In all I would say that this trail is a really great one for newer backpackers because the terrain is pretty easy to manage and the trail is well marked. Additionally, the path is well trod and only having to navigate in a single direction makes it even easier to follow. The campsites are all well maintained and very clear. I think that seasoned backpackers would also enjoy the area because it is just so beautiful. If you are able to really move fast and put in miles this could even be done as a 3 day/2 night trip. I am not a fast hiker though and no matter how experienced I am, I prefer to take my time a bit and take in the views and wildlife. Taking an extra night or two would be pretty nice also. One could spread out the miles more or even stay two nights at one of the sites in the middle portion of the trail and do some exploring and lounging by the water.
Any way you slice it, I think it’s a pretty good pie.
Here we go!
Alright crew, It is with nervous excitement that I announce to all of you that registration is finally open for my first Women’s Backpacking Basics Class. This class is the original vision for my business. It is what started all of this. It what I am most excited to move forward on.
I want to provide you with the information that I spent months and months digging for as a new backpacker. I want to share with you my successes, but more importantly, my failures. I want to talk to you about the stuff that no one told me. I want to answer the questions that you have that feel awkward or embarrassing.
This class is for the girlies only. No boys allowed.
After completing the class you are then eligible to sign up for a Graduate Overnight Trip!
If you are interested in signing up for the class then head over to the main website and you can find more information as well as links in the Store to secure your spot in the class.

Stay Safe
Basic safety tips for hikers and backpackers.
One of the biggest topics that I get questions about is safety. How do I feel safe out in the wilderness or even on a day hike? Outdoor adventuring is never without risk, but that risk can be mitigated. Here are some pieces of advice.
Prepare. Spend time prepping. Review maps, practice with your gear, know what resources are available in the area that you are going, consider your fitness level-is it adequate for the adventure? What are the local animals, insects, or plants that you need to be concerned with? The more familiar you are with your location and gear the less chance there is for panic error.
Share. Share your entire itinerary with someone at home. All of it. Not just the park you are going to or your airline details. Share the trail map, planned or scheduled camp locations, timelines, and contact information for the park rangers. Leave a copy of all of this. Not only will this help in the event that something happens but being prepared enough to share details can put some ease in the mind of your family/friend/person at home.
Be aware: Pay attention to your surroundings. Who else is on the trail? When you see someone, look at them, say hello. The purpose of this is to help you remember the person and also to make your presence known to them. You seem like less of a target if you are confident.
Carry pepper spray or bear spray or a personal safety alarm.
Carry an SOS device. Especially if you are going to be somewhere that does not have cellular coverage. I carry a Garmin In-Reach.
Essential Gear: Always, Always, Always have the 10 essentials with you. No matter the length of your hike or trip.
Navigation
Shelter
Extra insulation layers
Food
Water (beyond what you need for the hike)
Fire
First Aid
Headlamp
Knife
Sun protection
Weather: Watch the forecast and understand the weather patterns of the location that you will be at.
Practice- Go on smaller hikes, do an overnight camping trip locally so you can test gear. You don’t have to be deep in the wilderness. You can even practice in your backyard.
Be kind to yourself. Sometimes when we are learning new things they seem very big and scary. Allow yourself time to learn in small chunks so it is less intimidating or scary. Ask a friend along. Having someone else along can make you feel more secure.
Be ready and ok with changing plans. It’s ok to turn around or not complete what you had planned. Sometimes that is the safest thing you can do. The trail will be there. Better to be safe and able to try again another time.
Join me in my Backpacking Basics class to learn more! Or come along on one of my free local meetup hikes to meet new friends that you can get out and adventure with!

Hey new friend!
Let’s make some new friends!
If you follow me on social media you might have noticed that I am now offering Local Meetup Hikes. If you are in the Dayton, OH area that’s great, I’ll see you at the next one! If you are not then find a budget airline and buy a ticket. Just kidding…..or am I?
One of my biggest goals with this business is to support women+ in their goals to get out into nature. The Local Meetup Hikes are a great way to meet others that have similar goals to you. It is my hope that we can build a community of folks that can be there to support one another! Maybe you don’t have any friends or family that want to hike or backpack. Come to the Local Meetup Hikes and now you do!
So what are these hikes you ask? They are super casual, low stress, low key walks in the woods. The mileage will be low and we can always adjust on the fly depending on who shows up. I’m here to support you, so if you tell me that you need more, or less, then that’s what we will do. I would say to expect 2-5miles. I will choose locations that are easy to moderate in terrain. All you need to do is let me know that you want to join and I will let you know what the location details are. These will be weekly, recurring hikes. The day of the week and the location will vary so don’t worry if it doesn’t line up with your schedule but you want to go. Just shoot me a message and I’m sure one of the next ones will work for you.
What you need to bring:
A snack (whatever makes your heart and belly happy)
Hydration
All your questions. We can chat about them while we walk.
What should you wear?:
Clothes — Seriously, though. Just wear something that you feel comfortable moving in. Maybe wear some layers so that you can adjust if you get cold or hot. Wear whatever shoes you feel comfortable walking in. If you like boots, great. If you prefer sneakers, that’s great too. Just wear a shoe that you don’t mind getting muddy or wet.
If you have more questions let me know! You can find my contact information here on the website or you can message me through any of the social media platforms that you follow me on.